Migrate Cloudron Apps to a new server

Just a litle guide how to move your existing sites/apps from one to another Cloudron server.
In this case I moved from a bare metal proxmox cloudron on Hetzner to the Hetzner Cloud. Due to the fact that the Storage Box is atached to the server I will try to avoid attaching same backup location to the new server to be sure the backups are still archived after dismanteling the server.
The old Cloudron instance is atttached to the Storage Box and backups are stored in the storage box mounted at the server at
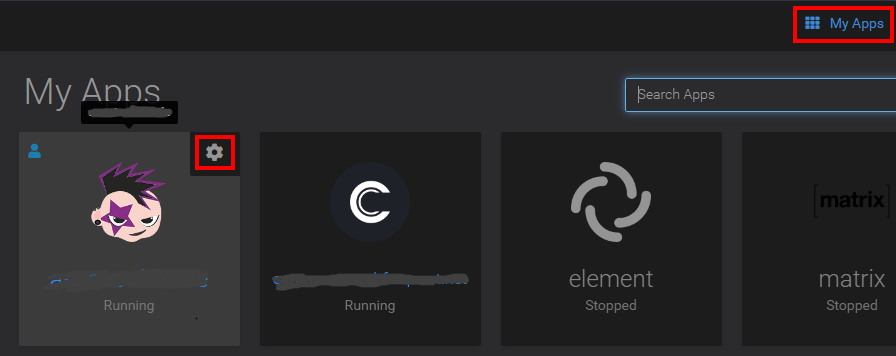
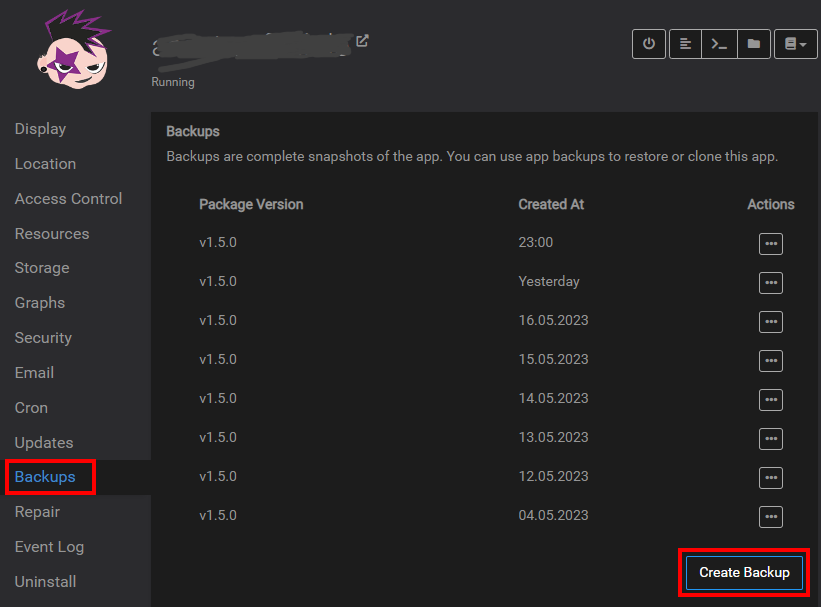
/mnt/cloudronbackupSo starting on the old instance go to the App and create a backup first
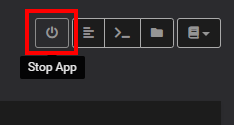
Stop the App / Service on the OLD Cloudron:

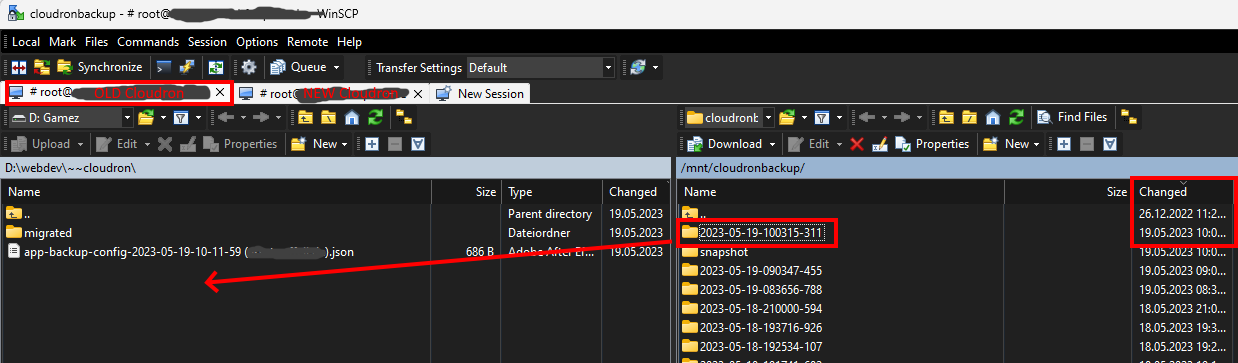
At this point its up to you how to transfer the backup from the old instance to the new instance. I prefer SFTP to the old server and to the new server, transfering the backup to local disk to have it archived for potential troubleshooting and transfering from the local disk to the server (of course you can simply tranfer directly to the new server also)
Lets go ahead and SFTP into OLD Cloudron:
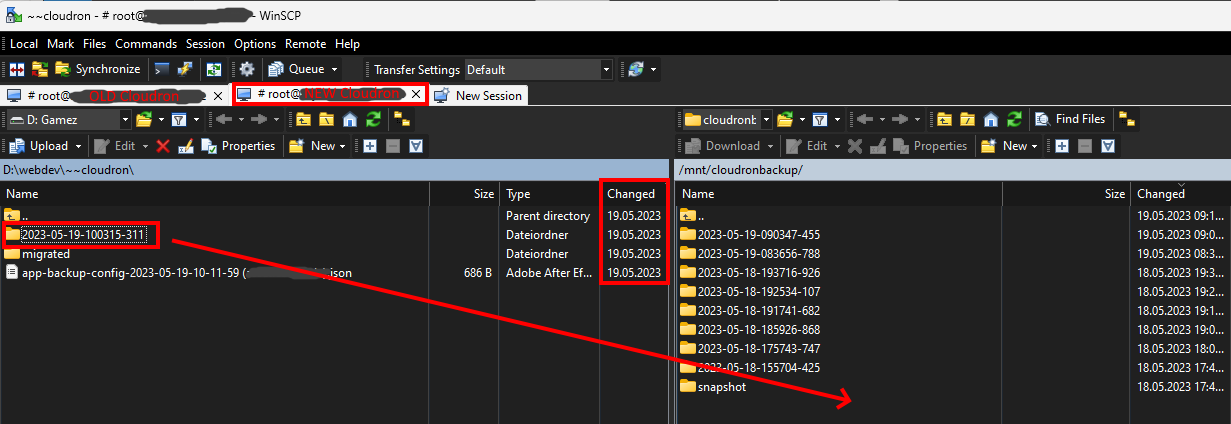
SSH to your new Cloudron instance and create the same folder in /mnt:
mkdir /mnt/cloudronbackupSFTP in your new instance and upload the backup folder from local disk:
change permissions to cloudrons yellowtent user in SFTP or simply in your still open SSH session on the NEW Cloudron:
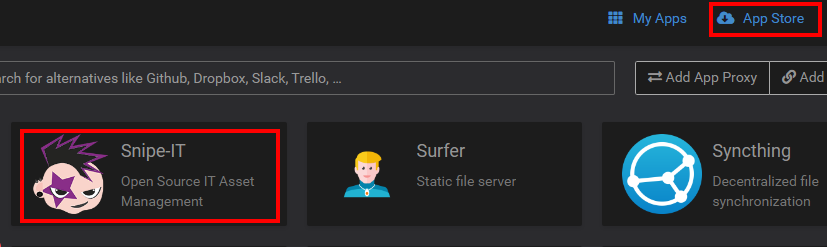
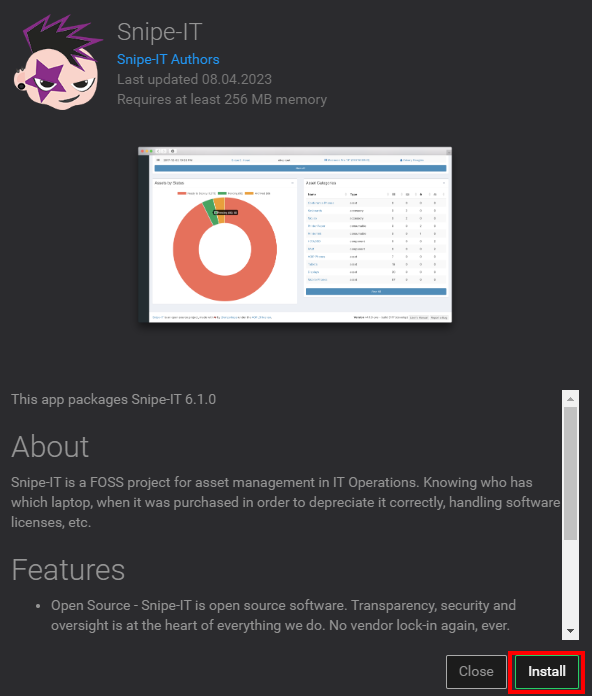
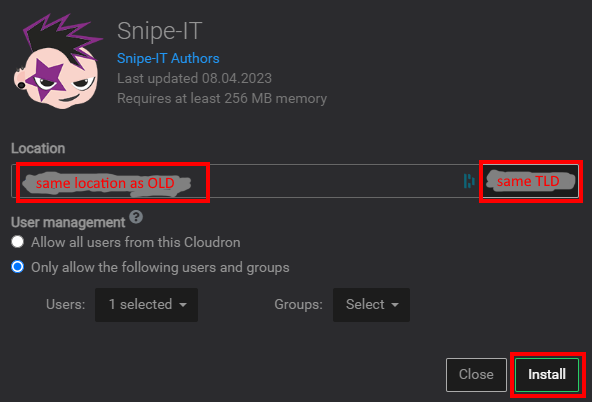
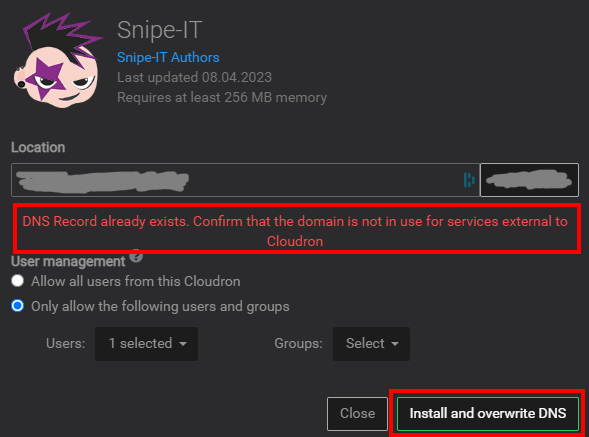
chown -R yellowtent:yellowtent /mnt/cloudronbackupInstall the same App Service from Cloudrons App Store on your NEW Cloudron with the same location for updating the DNS at Cloudflare (with Proxy on - more later on)
Choose same location for the App on NEW Cloudron as on the OLD Cloudron:
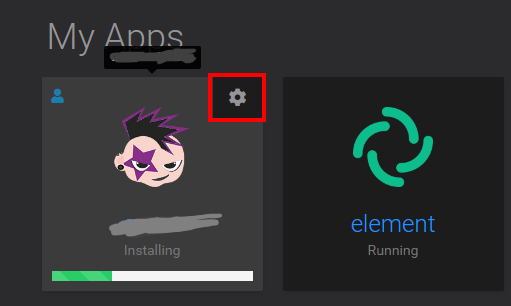
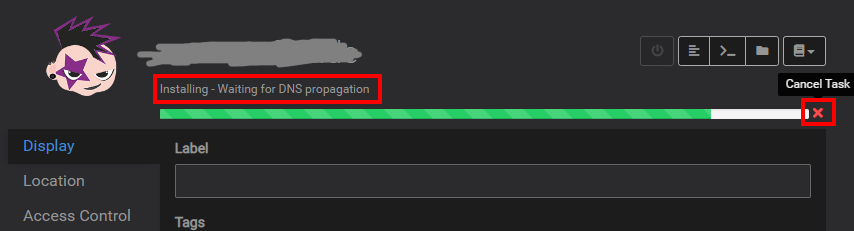
As there is a issue with updating ipv6 DNS entrys with proxy enebled on cloudflare you can cancel the task to fix the AAAA entrys first. So you can cancel at: Installing - Waiting for DNS propagation
Edit: seem to be a general issue with updating unproxied DNS entrys to proxied so deleting DNS entrys for A records seem to be also required in some cases
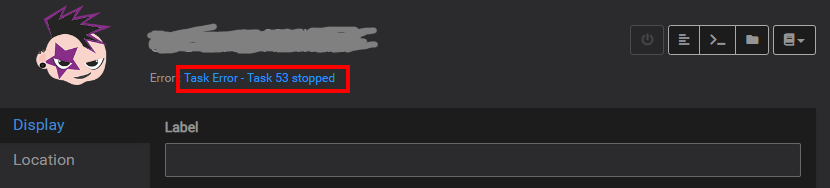
Click on the Task Error to open Cloudrons Troubleshooting
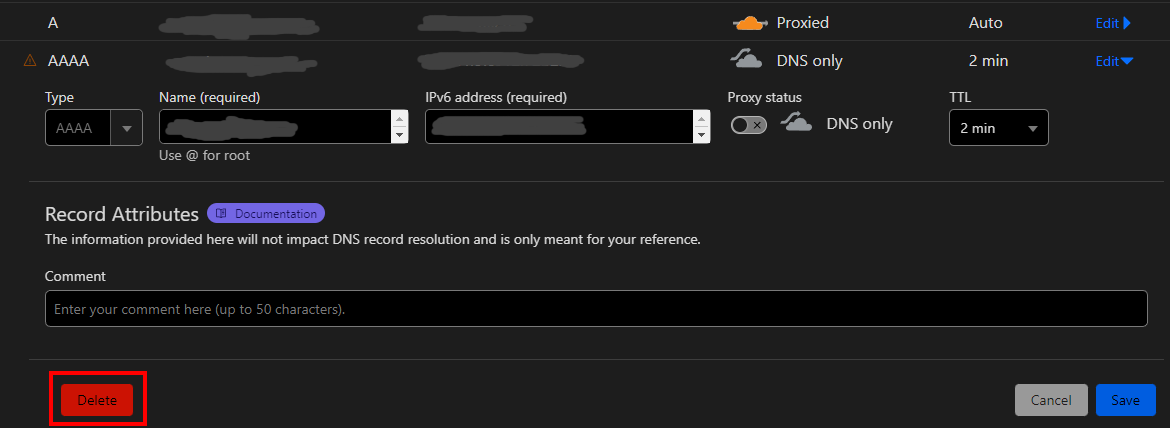
Leave the Task Error Window open and log in to your Cloudflare Dashboard and Navigate to your Domains DNS Settings to check your DNS records and search for the AAAA entry of the label you wanted to install:

While the ipv4 Entryy was updated and Proxy set enabled the ipv6 Entry was created without proxy and that caused the Task error. Simply go to Edit and delete the AAAA Entry of the app location:
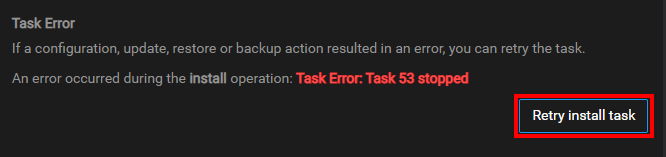
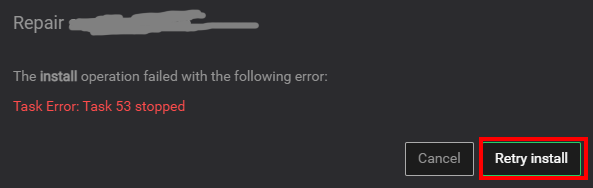
Now you can retry the Install Task on Cloudron:
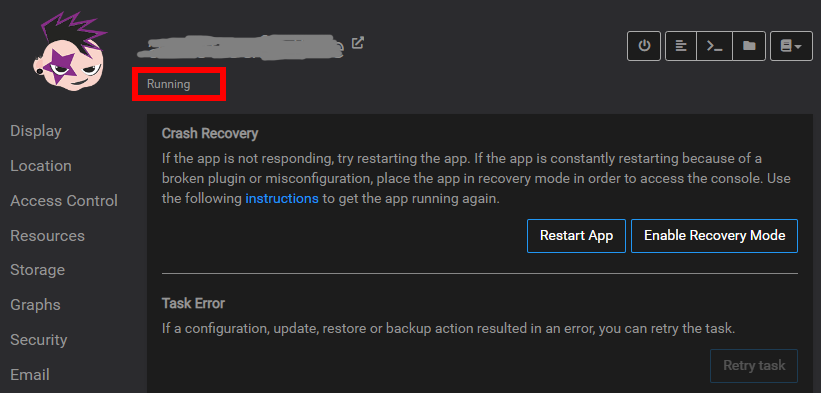
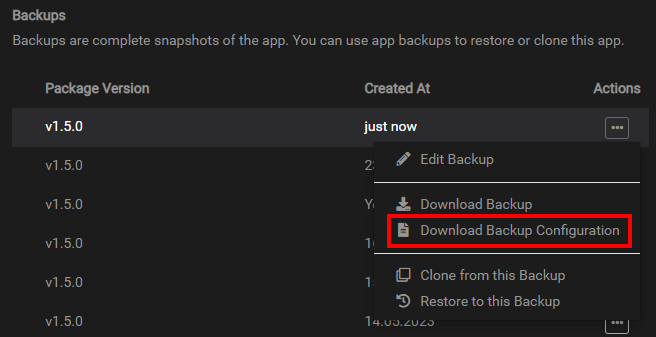
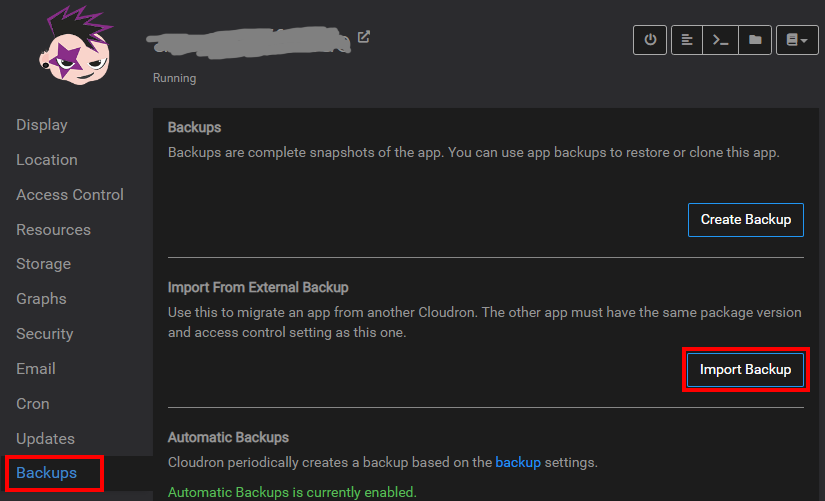
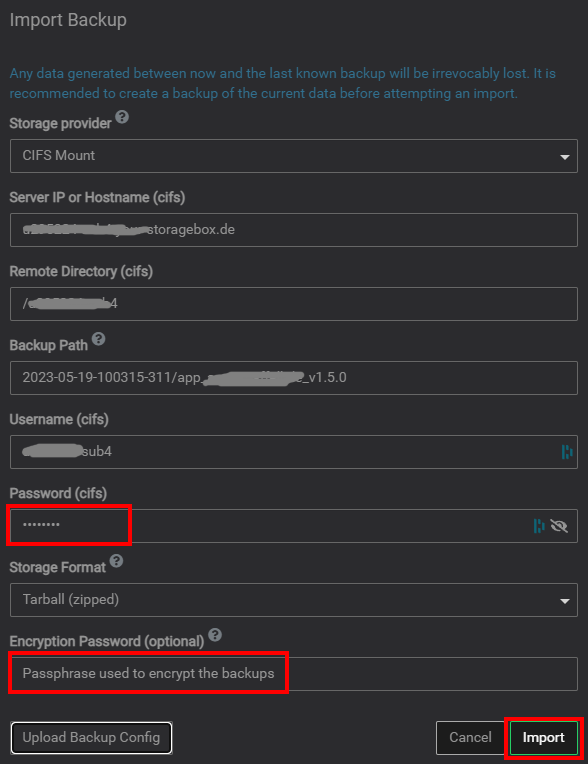
Now the App is up and running on the NEW Cloudron and we can Import the Backup:
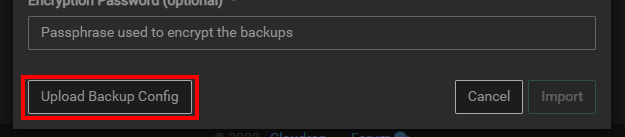
This will fill out the Backup configuration. As the passwords are not stored in the config file put in the Passwords for cifs or encryption manually.
Thats all. App is restored and should be up and running on NEW Cloudron.
Keep in mind that if you set a Redirect location afterwards this can also be the issue when DNS update times out.